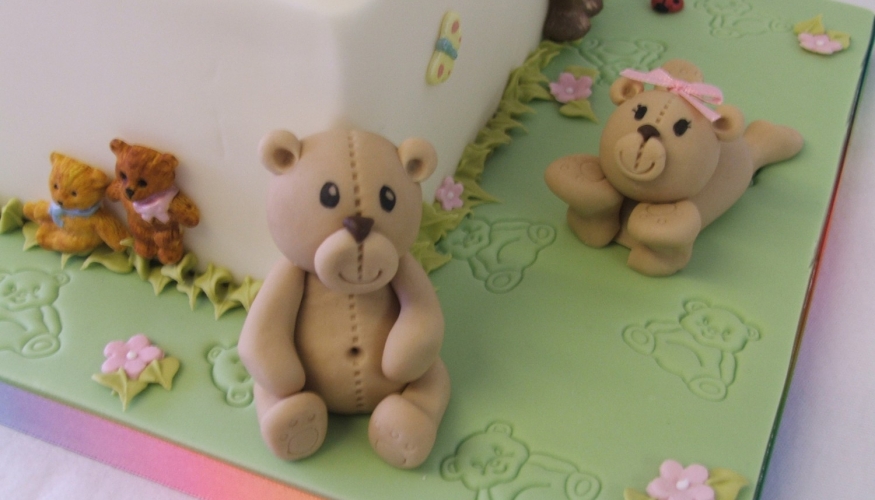
Top tips for modelling in icing
Modelling out of icing is a wonderful skill to master but it is usually trickier than people expect. Here I will share our CP golden rules and top tips for success when modelling in icing.

Prepare your modelling paste.
Sugar paste alone is a bit soft for modelling – it often breaks or cracks and does not hold its shape well. Modelling paste is made by strengthening the sugar paste. This may be done in a variety of ways.
- You can mix flower paste and sugar paste together. Knead until thoroughly combined – the proportions are usually 50/ 50. Alternatively use another strong icing such as Pastillage or Mexican paste and again knead into the sugar paste 50/50. When you try and knead two icings together that have such different consistencies to start with it feels like they will never combine. Just keeping kneading and you will end up with a beautiful smooth paste. The advantage of this method is that you achieve additional stretch as well as strength. This is useful when creating more complicated models.
- You can add 1 teaspoon of CMC or gum Tragacanth per 250g. Knead your sugar paste until it is soft, make a well in the centre of the ball of paste, add the CMC or gum and knead until fully combined. The CMC works straight away, gum tragacanth takes 24 hours to reach full strength.
- Karen Davies sugar paste is stronger than other brands and works well as modelling paste on its own for simpler models.
- Alternatively you may purchase commercially made modelling paste in tubs or packets – this is very quick and convenient.
To colour modelling paste
The best colours to use are the concentrated paste colours. My favourites are the sugarflair pastes and the Rainbow dust pro gel. Liquid colours affect the consistency of the icing, making it too sticky. Dust colours are hard to blend into the icing and often dry it out. Add colour carefully, a little at a time using a cocktail stick. Knead thoroughly – to start with it will go streaky; keep kneading until an even colour is achieved.
For people modelling
It is important to have a good flesh tone paste. No matter how well you have modelled your characters they won’t look very good if they seem to have a rather dodgy spray tan!! Start with ivory modelling paste and add a tiny bit of paprika paste colour using a cocktail stick and knead well. You should have an even flesh coloured paste with no streaky bits!
For different flesh tones start with this flesh colour and add
- Black skin add brown until the colour is as dark as required, then add green to obtain the correct skin tone.
- Asian skin add brown to dark, and blue to obtain the correct skin tone.
- Far Eastern skin add yellow and green.
Before you start
You must knead your modelling paste until it is soft, smooth, and pliable and crack free. This stage people often leave out – if there are cracks in your paste to start with they don’t miraculously disappear, rather as your model dries the cracks enlarge so what started as a fine line becomes an unattractive gash!
To begin
Whatever you are making (pig, dog, person, kettle) start with a ball then shape as required. The ball (as mentioned above should be smooth and crack free). Most things are made from basic shapes – a ball, a teardrop or pear and then the detail added with the use of modelling tools.
For support
For support use dry spaghetti or even sugar sticks – do not use inedible and sharp items such as cocktail sticks.
If you need more help remember we run lots of fabulous courses. Good ones to start with are Introduction to modelling, Farmyard animal modelling, Professional people modelling. A small amount of modelling is covered in our Back to Basics course.
