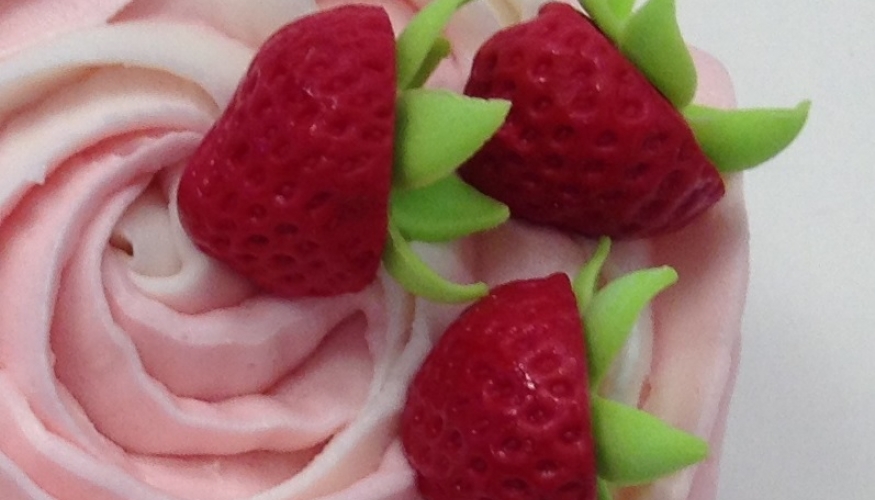
Strawberry decorations for cupcakes & cakes
Step by step how to create strawberries from icing that even taste of strawberry!
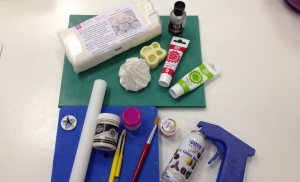
You will need
- non-stick board & rolling pin
- Blue foam pad
- Fruit & nut mould 2
- calyx cutter
- progel colours - strawberry & lime
- chilli red dust colour & dusting brush
- clear glaze spray & adapter gun
- Karen Davies sugar paste
- edible glue & brush
- Beau strawberry flavour
- flower & leaf shaper (aka Dresden tool)
- petal base
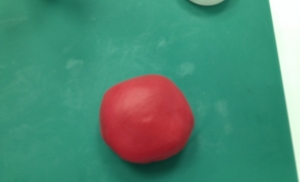
Prepare your paste
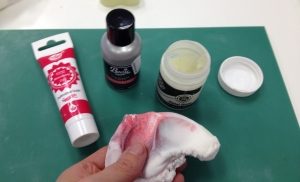
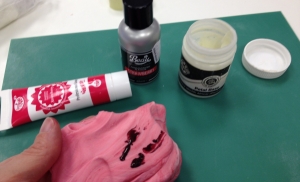
Flavour some Karen Davies sugar paste with a few drops of strawberry flavour and add strawberry progel colour to achieve a realistic strawberry red. Use a little petal base on your hands to stop it sticking. Petal base won’t affect the colour and the paste won’t dry out as quickly. To start with the paste will look streaky, keep going and you will achieve a nice even shade. If need be add more colour to create an attractive strawberry colour.
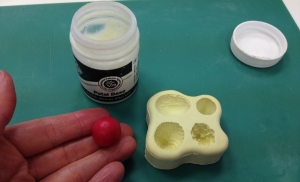
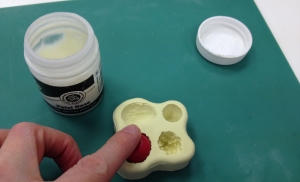
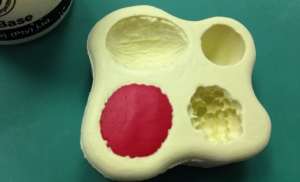
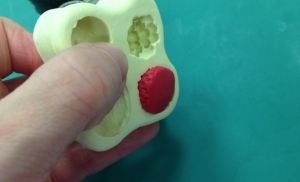
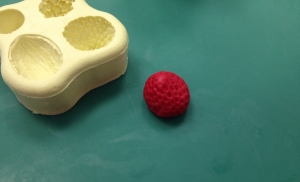
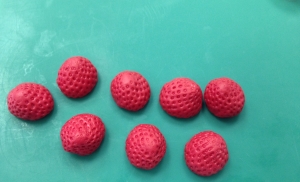
Make the strawberry
Roll a ball of paste until smooth, using petal base on your fingers to stop it sticking, push into the strawberry cavity on the fruit & nut mould 2, turn out and leave to firm. Make lots!
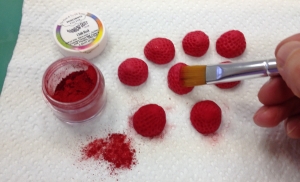
Colour & glaze
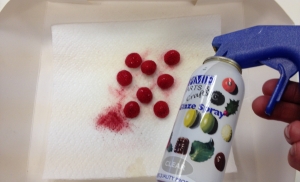
Dust the berries with chilli red and spray with clear edible glaze. The glaze adds a sheen but also sets the colour so it won’t splodge onto your cupcakes! Leave to dry.
Calyx
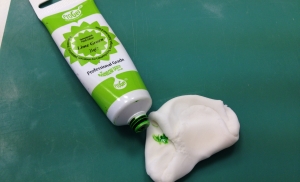
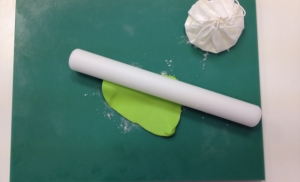
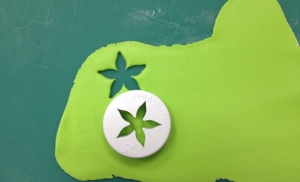
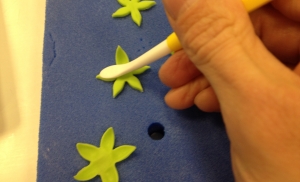
Colour some more Karen Davies paste green using the progel lime green. Roll the paste thinly and cut out a calyx.
Complete your berry
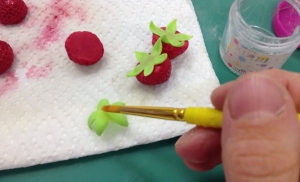
Transfer onto a blue flower shaping pad and stroke with the smooth end of a flower & leaf shaping tool (aka Dresden tool). Stroke from the tip towards the centre. Secure to the top of the berry with a little edible glue.
Storage
These berries will last several weeks if you wanted to make them in advance. Store them in a cardboard cake box (not a tin or Tupperware).
