How to make patterned paste
Making patterned paste is easier than you think - just follow these steps.....
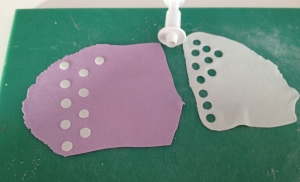
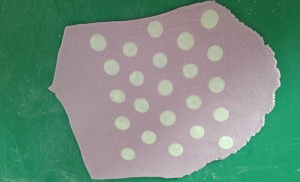
polka dots
Roll your main colour of paste and leave it covered. Roll you second colour and cut out your chosen shapes - for example polka dots. We used the PME circle plunger cutter which works beautifully for this project. Arrange your cut outs on your main piece of paste.
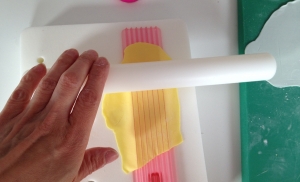
or stripes
You could use a JEM strip cutter to make stripes. Or use stars, hearts, blossoms or leaves as other examples.
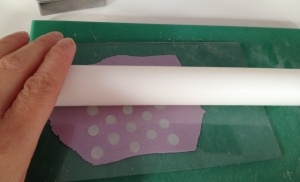
blend the pastes
Place a stay fresh mat over the top of your paste and roll firmly. This will blend the pastes together. Using a stay fresh mat helps prevent the paste from distorting so your polka dots stay round and so on.
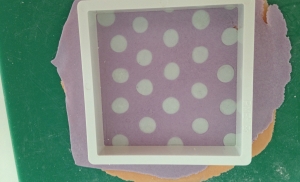
it's ready!
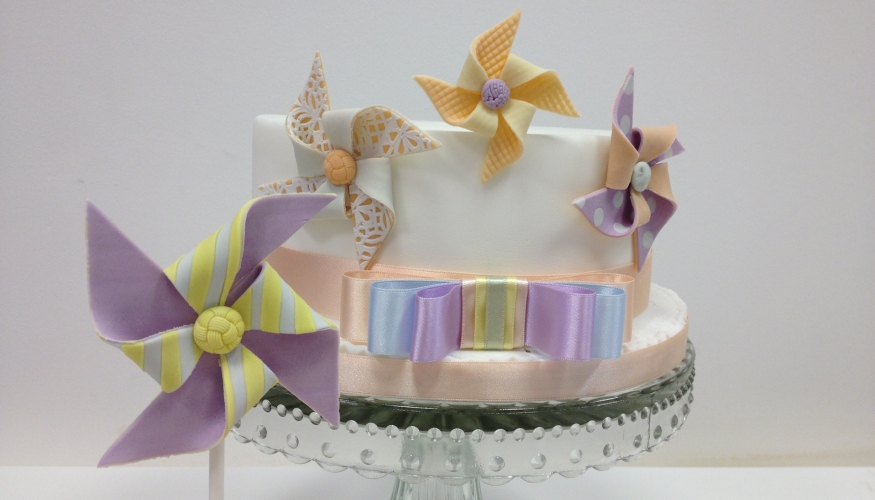
Your patterned paste is now ready to use. Have fun experimenting with different ideas.